
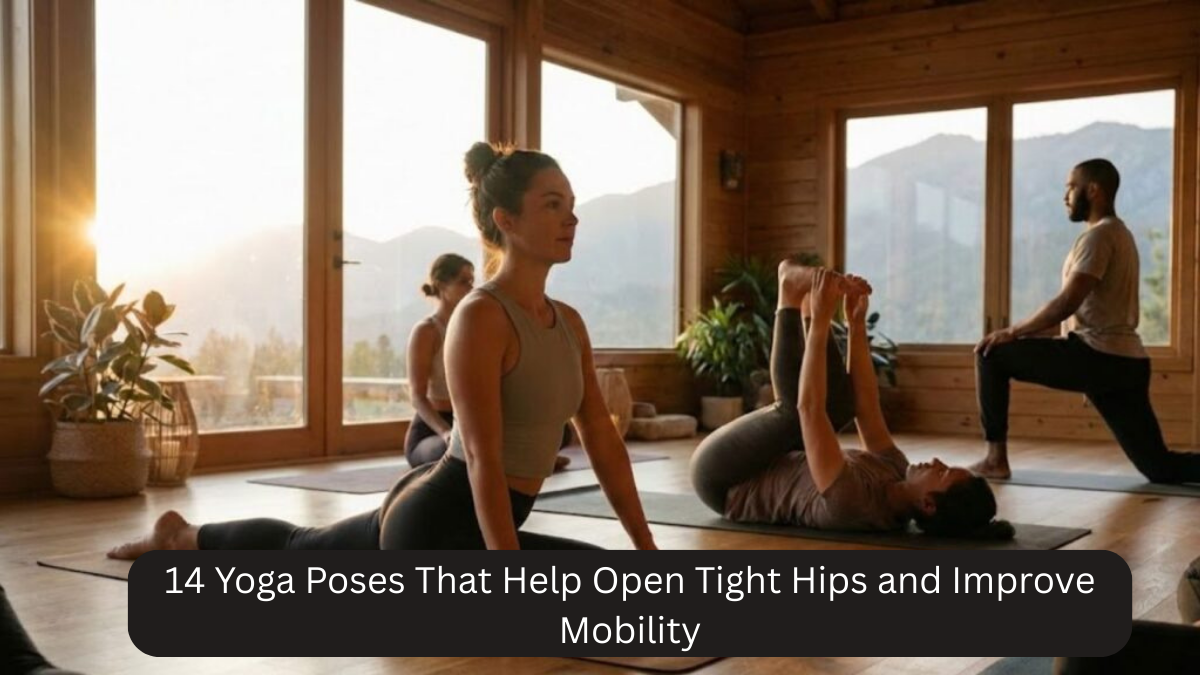
Tight hips are a common problem for many people, especially those who spend long hours sitting at a desk, commuting, or engaging in repetitive activities. Restricted hip mobility can lead to discomfort, lower back pain, and reduced range of motion. The good news is that yoga is an excellent way to release tension, increase flexibility, and strengthen the muscles surrounding the hips.
In this article, we’ll explore 14 yoga poses specifically designed to open tight hips and improve mobility. These poses are suitable for beginners and intermediate practitioners and can be incorporated into a daily or weekly routine.
Why Hip Mobility Matters
Your hips are central to your overall movement, affecting posture, gait, and stability. Tight hips can cause:
- Lower back pain and stiffness
- Reduced range of motion in daily activities
- Knee and ankle strain
- Difficulty performing squats, lunges, and athletic movements
Regular yoga practice improves flexibility, strengthens supporting muscles, and encourages proper alignment, reducing the risk of injury and enhancing overall mobility.
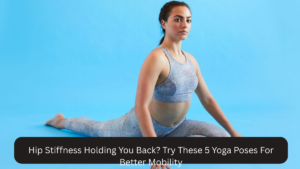
14 Yoga Poses to Open Tight Hips
1. Butterfly Pose (Baddha Konasana)
Benefits: Opens inner thighs, stretches groin, improves hip flexibility
How to Do: Sit with your feet together, knees bent out to the sides. Hold your feet with your hands and gently press your knees toward the floor. Keep your spine straight and breathe deeply for 30–60 seconds.
2. Pigeon Pose (Eka Pada Rajakapotasana)

Benefits: Deep hip opener, stretches glutes and hip flexors
How to Do: Start in downward dog, bring one knee forward and place it behind your hands, extend the opposite leg back. Square your hips and fold forward for a deeper stretch. Hold for 30–60 seconds on each side.
3. Lizard Pose (Utthan Pristhasana)
Benefits: Stretches hip flexors, quads, and groin
How to Do: From a lunge, bring both hands to the inside of the front foot. Lower your forearms to the ground if possible. Keep your back leg extended and hips low. Hold for 30–60 seconds per side.
4. Garland Pose (Malasana)
Benefits: Opens hips and groin, strengthens lower back and core
How to Do: Squat with feet slightly wider than hip-width, bring palms together at your chest, and use elbows to gently press knees apart. Keep spine tall and chest open. Hold for 30–60 seconds.
5. Cow Face Pose (Gomukhasana)
Benefits: Stretches outer hips, glutes, and thighs
How to Do: Sit with one knee stacked over the other, feet near hips. Fold forward slightly while keeping spine straight. Hold for 30–60 seconds per side.
6. Happy Baby Pose (Ananda Balasana)
Benefits: Releases tension in hips and lower back
How to Do: Lie on your back, bend knees toward your chest, hold the outer edges of your feet, and gently pull knees toward the floor. Rock side to side for a deeper release. Hold for 30–60 seconds.
7. Low Lunge (Anjaneyasana)
Benefits: Stretches hip flexors and quads, improves balance
How to Do: Step one foot forward into a lunge, lower the back knee to the ground, and lift your torso. Engage core and push hips forward. Hold for 30–60 seconds per side.
8. Frog Pose (Mandukasana)
Benefits: Deep inner thigh and groin opener
How to Do: From all fours, widen your knees and keep feet in line with knees. Lower hips toward the ground and stay for 30–60 seconds. Ensure knees are comfortable on the mat.
9. Seated Forward Fold with Wide Legs (Upavistha Konasana)
Benefits: Stretches hamstrings, groin, and hips
How to Do: Sit with legs wide apart, flex feet, and fold forward from hips while keeping spine long. Reach hands forward or to the floor. Hold for 30–60 seconds.
10. Bridge Pose (Setu Bandhasana)
Benefits: Opens hip flexors and strengthens glutes and lower back
How to Do: Lie on your back, bend knees, and place feet hip-width apart. Press into heels, lift hips, and clasp hands under your back. Hold for 30–60 seconds.
11. Reclined Pigeon Pose (Supta Kapotasana)
Benefits: Gentle hip opener for beginners or for relaxing after intense stretching
How to Do: Lie on your back, cross one ankle over the opposite thigh, and gently pull the bottom leg toward your chest. Hold for 30–60 seconds per side.
12. Side Lunge (Skandasana)
Benefits: Opens inner thighs and hips, improves mobility and balance
How to Do: From a standing position, step one foot wide, bend the knee while keeping the other leg straight. Keep torso upright and chest open. Hold for 30–60 seconds per side.
13. Thread the Needle (Sucirandhrasana)
Benefits: Stretches outer hips and glutes
How to Do: Lie on your back, cross one ankle over the opposite knee, and thread your hands through to grab the back of the thigh. Gently pull toward chest. Hold for 30–60 seconds per side.
14. King Pigeon Pose (Advanced) (Kapotasana Variation)
Benefits: Deep hip and quad opener, stretches back and chest
How to Do: From pigeon pose, bend the back knee and reach hand to foot, lifting chest and keeping spine elongated. Hold for 20–40 seconds per side. Beginners can modify by using a strap.
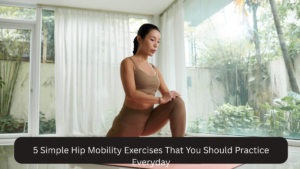
Tips for Safe Hip Opening
- Warm Up First – Gentle stretches or light cardio helps prevent injury.
- Go Slow – Hip muscles are sensitive; never force a stretch.
- Breathe Deeply – Focus on slow inhales and exhales to release tension.
- Use Props – Blocks, straps, or blankets can support poses and improve alignment.
- Consistency Matters – Practicing a few minutes daily produces better results than occasional intense sessions.
- Listen to Your Body – Mild discomfort is okay, but sharp pain is a signal to ease off.
Frequently Asked Questions (FAQ)
Q1: How often should I practice hip-opening yoga poses?
3–5 times a week is ideal, even just 10–15 minutes per session. Daily practice can accelerate flexibility gains.
Q2: Can beginners do these poses?
Yes, most poses can be modified using props or partial range of motion. Poses like reclined pigeon, happy baby, and low lunge are beginner-friendly.
Q3: How long should I hold each pose?
Typically, hold poses 30–60 seconds for beginners, up to 2 minutes for deeper mobility practice.
Q4: Can hip-opening yoga reduce lower back pain?
Yes, tight hips often contribute to lower back tension. Regular hip-opening yoga improves posture and alleviates discomfort.
Q5: Should I stretch before or after a workout?
Yoga for hip mobility can be done both before or after workouts. Pre-workout stretching should be dynamic, while post-workout can include longer static stretches.
Q6: Can these poses help with athletic performance?
Absolutely. Improved hip mobility enhances running, squatting, lunging, cycling, and other athletic movements.
Conclusion
Tight hips are a common problem, but consistent yoga practice can significantly improve flexibility, mobility, and overall comfort. Incorporating these 14 poses into your routine strengthens supporting muscles, opens hip joints, and releases tension in the lower back and legs.
Whether you’re a beginner or an experienced yogi, these poses can be adjusted to match your level and help you achieve greater hip mobility, better posture, and enhanced movement quality. By combining mindful breathing, proper alignment, and consistent practice, you can gradually transform tight, restricted hips into flexible, open, and pain-free joints.